Just like a Halloween costume, illustrations can be fun and colorful or scary and monochromatic, but they all serve as the impressive visuals to connect the audience to the content. Every illustrator and designer has their own approach to creating these visual aids, us included. Here’s a behind-the-scenes look into my illustration process…
7 Steps of the Illustration Process
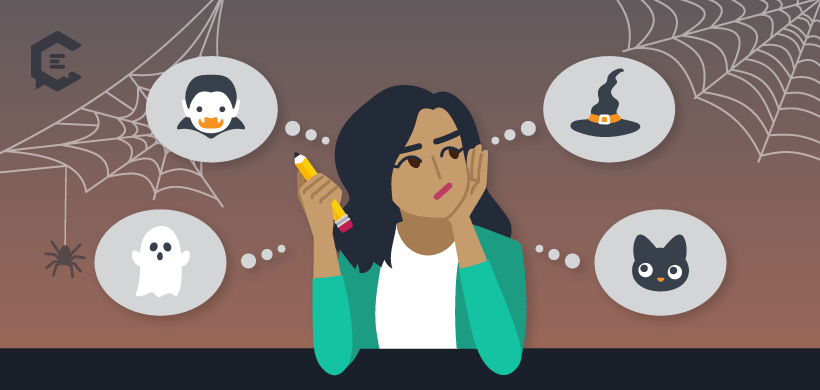
1. Figure out the concept
Before you start drawing, you need to figure out your concept. Whether it be for a client or a personal project, understanding it is key to creating a successful illustration.
Start by asking these questions like who is the audience? Which industry is this for? When and where will this be published? What are the key themes? Etc. This will help narrow down your ideas and make sure that they align with the vision of the project.
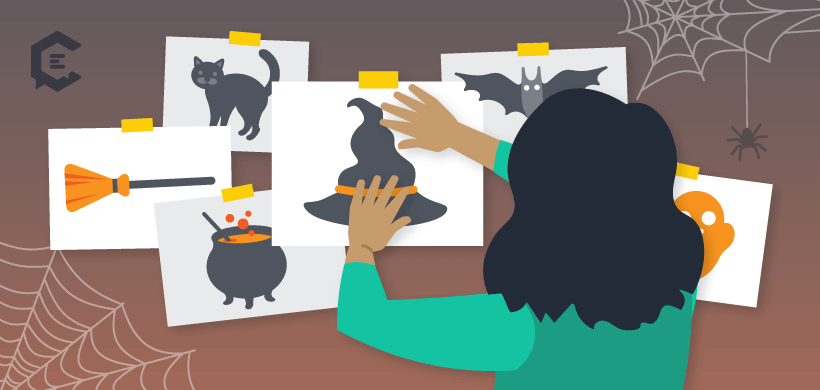
2. Seek out inspiration
We frequently get asked how we come up with my illustrations. Sometimes they come straight out of our imagination, but more likely than not, we like to gather inspiration from a variety of sources. This includes design trends, past and current, and more.

We’ll look up illustrators that we admire, take pictures on our phones and pin a bunch of example illustrations on our Pinterest boards. The more sources of inspiration, the better. This way you do not find yourself making a carbon copy of someone else’s work.
The websites we like to frequent for inspiration and references include Behance, Brown Paper Bag, Pexels, Pinterest, and Unsplash.
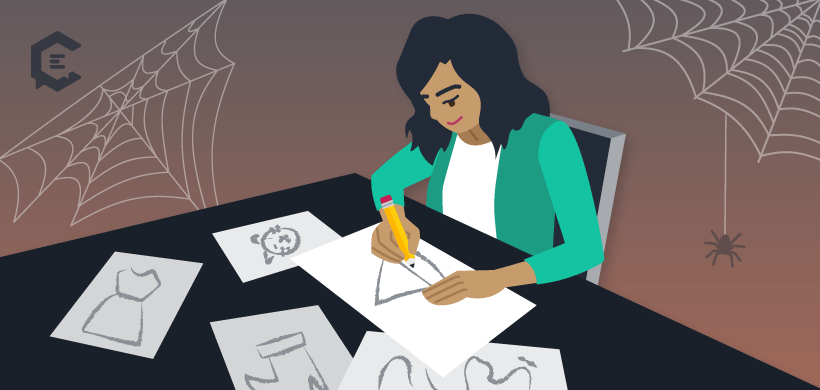
3. Sketch, sketch, sketch
With your ideas in mind and references on hand (or phone), it is time to start sketching in your favorite sketchbook or drawing app. We like to start with thumbnails or small, quick drawings. They help me narrow down which layout we like best without worrying about details or overthinking.
From there, we make bigger sketches to refine the composition, dimensions, characters, etc. We’re not too worried about perfection at this point in the illustration process.
4. Play with the color scheme
After the sketching comes our favorite part: finding the perfect color palette. Colors are important since they help elicit emotion and enhance the message of the illustration. If we’re working with branding colors, we like to play around with their placement.
Don’t be afraid to experiment with opacity and tones. When we have the freedom to pick out the color palette, we create multiple thumbnails containing different variations of colors. Remember that this step is all about finding the right combination of complementary colors, so be flexible and have fun with it.
There are hundreds of color palette generators to help you get started. Some of our favorites are Colormind, ColorSpace, Coolors, and Paletton.
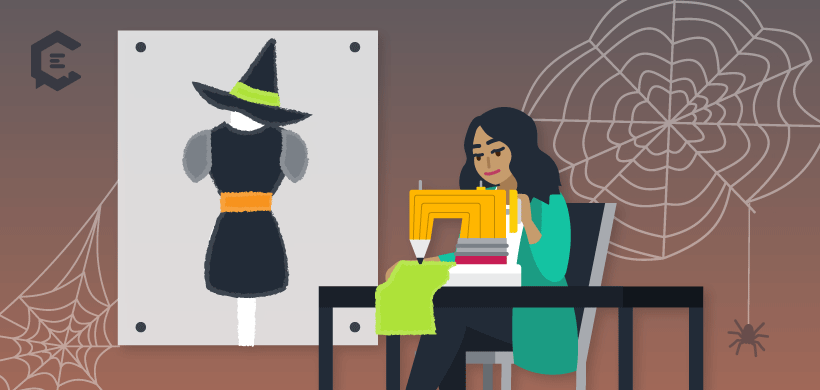
5. Block it out
It’s time to start building the illustration by blocking out the shapes. Whether using Adobe Illustrator, Procreate or even a traditional medium like watercolor, this tends to be the most time-consuming step, so we like to have my favorite podcast or show playing in the background.
With the sketch as a guideline, we start drawing the different elements on separate layers to keep things nice and organized. There are times when we follow the sketch to a T, but for the most part, we’ll do a lot of refining to improve the illustration.
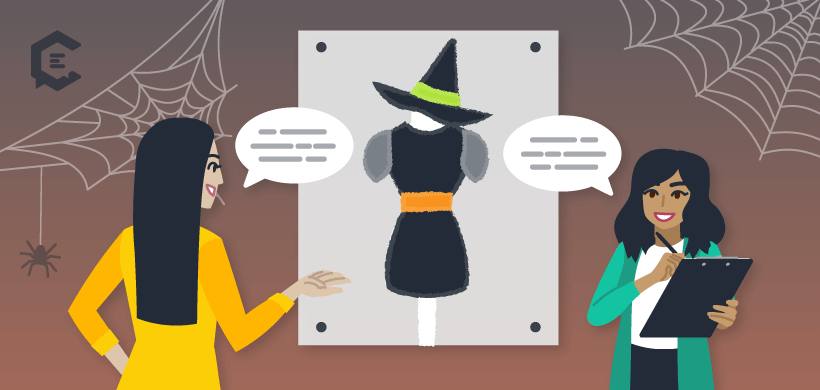
6. Embrace the feedback
At this point, we’ve been staring at the computer screen for hours on end, and things are starting to blur together. A fresh pair of eyes is exactly what we need before finishing. While receiving feedback can seem daunting, we, as creatives, should embrace it. Mistakes get fixed that would otherwise go unnoticed, and we can learn new techniques and approaches.
We ask questions to clarify any confusion and make sure to remain open-minded. By doing so, my skills improved immensely, and I am one step closer to achieving the vision of the project.
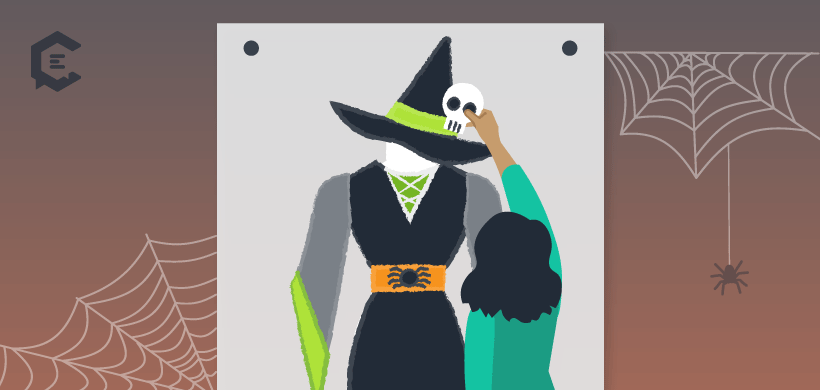
7. Finalize the details
With constructive feedback in mind, we start incorporating those changes. Once that is done, it is time to get started on the details. From fine lines to textures to gradients, details help bring the illustration to life! We take time to consider how much we should add and what we should take away to avoid overworking the illustration. After all, the devil is in the detail.
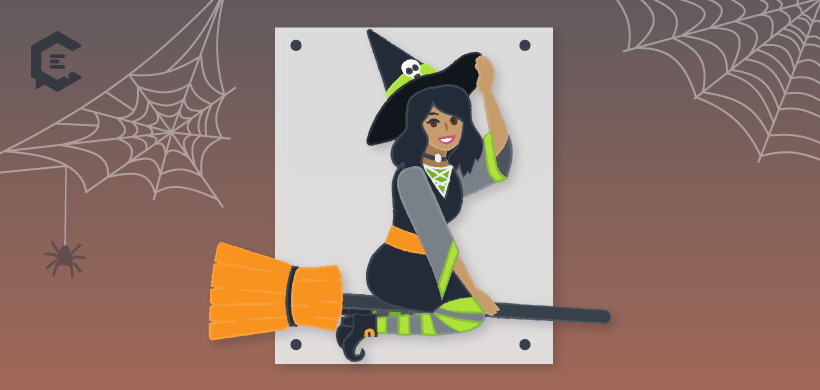
It’s a Wrap
After finishing all seven steps, the illustration is now complete! Our process may differ from another illustrator’s and that’s okay. It’s important to recognize what steps work best for you. Just like Halloween, once you get past the scariness of it, the illustration process is the time to experiment and have fun!
Get started on your illustration and content creation by connecting with a content strategist today.